Setup RAWeb Web Interface
This will guide you through setting up RAWeb on the default web site in IIS on Win 8. Steps may vary slightly between operating systems.
The guide assumes that IIS is not already installed.
1. Go to Control Panel > Programs and Features
If you can't find it, just click the start menu and type Programs and Features.
2. Click Turn Windows features on or off

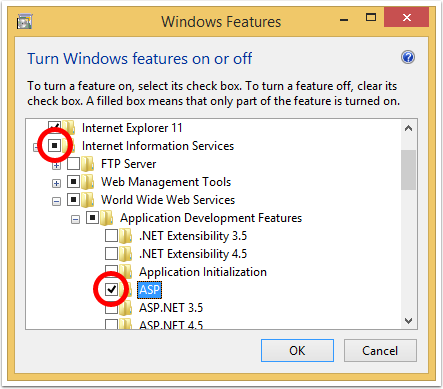
3. Install IIS and ASP
Click the box next to Internet Information Services.
Expand Internet Information Services > World Wide Web Services > Application Development Features.
Click the box next to ASP.
4. Wait for changes to apply
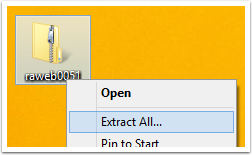
5. Right-click RAWeb and Extract All...
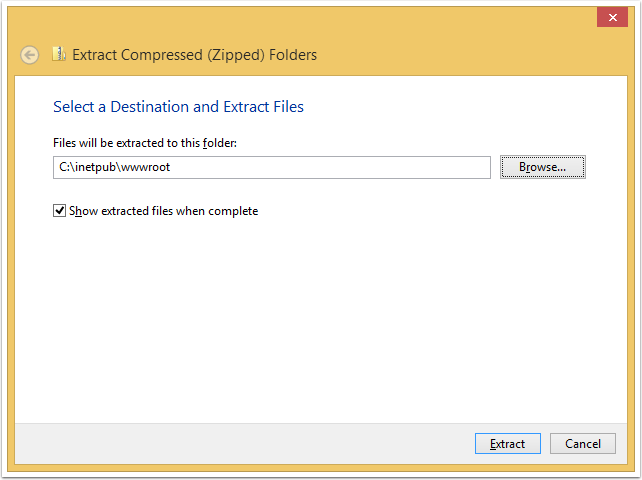
6. Extract files to C:\inetpub\wwwroot
Overwrite files if prompted.
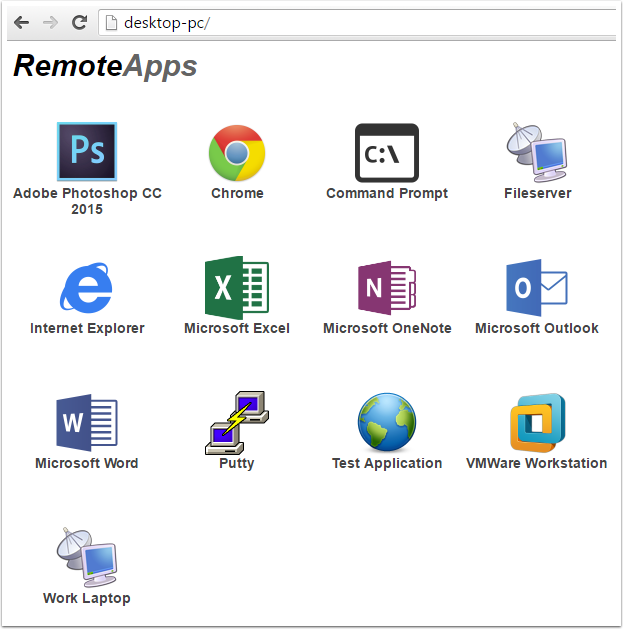
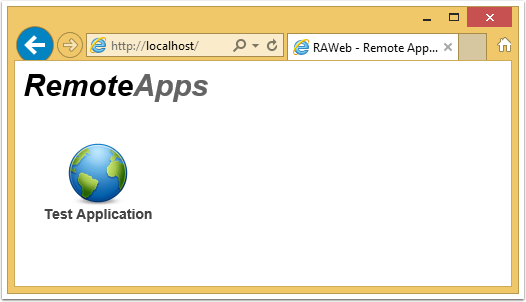
7. Browse to http://localhost/
You should see RAWeb with a Test Application.
8. Publish your RemoteApps and Remote Desktop Connections
For each RemoteApp you want published on the page, save it's RDP file into c:\inetpub\wwwroot\rdp
If you want a custom image displayed for an app, put a PNG image file into c:\inetpub\wwwroot\png with the same name as the rdp file.
For example: Outlook2010.rdp would need an image called Outlook2010.png. Images will display at 64x64 pixels.